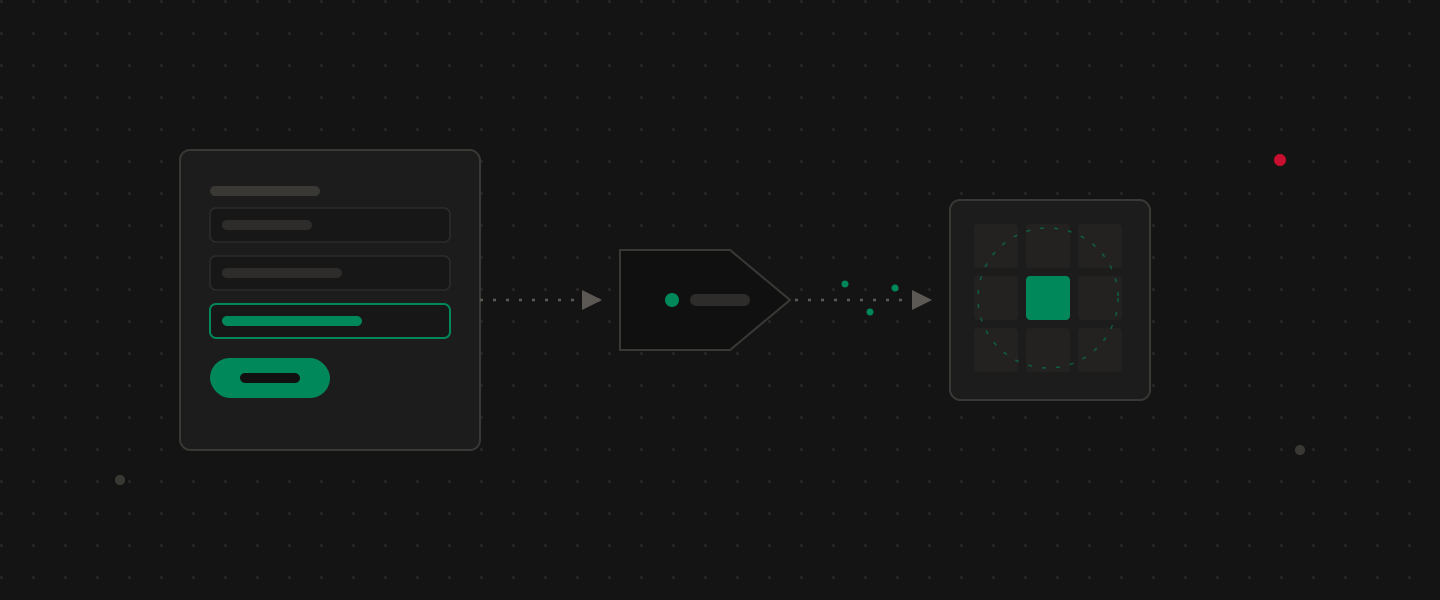
Implementing advanced matching for the Meta Pixel can significantly enhance your tracking and retargeting capabilities. This guide will walk you through setting up advanced matching using Google Tag Manager (GTM).
By capturing user data from form fields and sending it to Meta, you can improve the accuracy of your tracking and audience creation.
Install the Meta Pixel Template
To get started, you need to install the Meta (Facebook) Pixel template in GTM. This template will streamline the process of sending data to Meta.
Steps:
- Open your GTM workspace.
- Click on the “Templates” section in the left-hand menu.
- Search for “Facebook Pixel” by
facebookarchive. - Click “Add to Workspace” to install the template.
Create Variables
Variables in GTM will help you capture input data from form fields and store it in a data layer. We’ll create two sets of variables: one for capturing input data and another for storing the data in the data layer.
Capture Input Data
To capture input data from form fields, create custom JavaScript variables in GTM. These variables will extract data directly from your form fields.
This variable captures the email address from the form field. Update the ID attribute in the code to match your email field’s ID.
function() {
  var fields = document.getElementsByTagName('input');
  var emailField;

  for (var i = 0; i < fields.length; i++) {
    if (fields[i].id.toLowerCase().includes('email')) { // Update this to match your email field's ID attribute
      emailField = fields[i];
      break;
    }
  }

  if (emailField) {
    var email = emailField.value.trim(); // Trim leading and trailing whitespace
    return email;
  }
  return '';
}
First Name
This variable captures the first name from the form field. Update the ID attribute in the code to match your first name field’s ID.
function() {
  var fields = document.getElementsByTagName('input');
  var firstNameField;

  for (var i = 0; i < fields.length; i++) {
    if (fields[i].id.includes('first_name')) { // Update this to match your first name field's ID attribute
      firstNameField = fields[i];
      break;
    }
  }

  if (firstNameField) {
    var firstName = firstNameField.value.trim().toLowerCase().replace(/[^a-z]/g, ''); // Trim, convert to lowercase, and remove non a-z characters
    return firstName;
  }

  return '';
}
Last Name
This variable captures the last name from the form field. Update the ID attribute in the code to match your last name field’s ID.
function() {
  var fields = document.getElementsByTagName('input');
  var lastNameField;

  for (var i = 0; i < fields.length; i++) {
    if (fields[i].id.includes('last_name')) { // Update this to match your last name field's ID attribute
      lastNameField = fields[i];
      break;
    }
  }

  if (lastNameField) {
    var lastName = lastNameField.value.trim().toLowerCase().replace(/[^a-z]/g, ''); // Trim, convert to lowercase, and remove non a-z characters
    return lastName;
  }

  return '';
}
Phone
This variable captures the phone number from the form field. Update the ID attribute in the code to match your phone field’s ID.
function() {
  var fields = document.getElementsByTagName('input');
  var phoneField;

  for (var i = 0; i < fields.length; i++) {
    if (fields[i].id.includes('phone')) { // Update this to match your phone field's ID attribute
      phoneField = fields[i];
      break;
    }
  }

  if (phoneField) {
    var phoneNumber = phoneField.value;
    // Remove all formatting and whitespace from the phone number
    var cleanedPhoneNumber = phoneNumber.replace(/\D/g, '').trim();
    // Check if the cleaned phone number starts with the country code '1' and has the correct length
    if (cleanedPhoneNumber.length === 10) {
      cleanedPhoneNumber = '1' + cleanedPhoneNumber;
    }
    return cleanedPhoneNumber;
  }
  return '';
}
Zip / Postal Code
This variable captures the postal code from the form field. Update the ID attribute in the code to match your postal code field’s ID.
function() {
  var fields = document.getElementsByTagName('input');
  var postalField;

  for (var i = 0; i < fields.length; i++) {
    if (fields[i].id.toLowerCase().includes('postal')) { // Update this to match your postal code field's ID attribute
      postalField = fields[i];
      break;
    }
  }

  if (postalField) {
    var postalName = postalField.value.trim().toLowerCase().replace(/\s+/g, ''); // Trim, convert to lowercase, and remove all whitespace
    return postalName;
  }
  return '';
}
Date of Birth
This variable captures the date of birth from the form fields. Update the ID attributes in the code to match your birth date fields’ IDs.
function getFormattedBirthDate() {
  var fields = document.getElementsByTagName('input');
  var birthMonthField, birthYearField, birthDayField;

  for (var i = 0; i < fields.length; i++) {
    if (fields[i].id.toLowerCase().includes('birth-month')) {
      birthMonthField = fields[i];
    } else if (fields[i].id.toLowerCase().includes('birth-year')) {
      birthYearField = fields[i];
    } else if (fields[i].id.toLowerCase().includes('birth-day')) {
      birthDayField = fields[i];
    }
  }

  var birthMonth = birthMonthField ? birthMonthField.value.trim().padStart(2, '0') : '';
  var birthYear = birthYearField ? birthYearField.value.trim() : '';
  var birthDay = birthDayField ? birthDayField.value.trim().padStart(2, '0') : '';

  if (birthYear && birthMonth && birthDay) {
    return birthYear + birthMonth + birthDay;
  }

  return '';
}
City
This variable captures the city name from the form field. Update the ID attribute in the code to match your city field’s ID.
function() {
  var fields = document.getElementsByTagName('input');
  var cityField;

  for (var i = 0; i < fields.length; i++) {
    if (fields[i].id.toLowerCase().includes('city')) {
      cityField = fields[i];
      break;
    }
  }

  if (cityField) {
    var cityName = cityField.value.trim().toLowerCase().replace(/[^a-z]/g, ''); // Trim, convert to lowercase, and remove non a-z characters
    return cityName;
  }
  return '';
}
Province / State
This variable captures the province or state name from the form field. Update the ID attribute in the code to match your province field’s ID.
function() {
  var fields = document.getElementsByTagName('input');
  var provinceField;

  for (var i = 0; i < fields.length; i++) {
    if (fields[i].id.toLowerCase().includes('province')) {
      provinceField = fields[i];
      break;
    }
  }

  if (provinceField) {
    var provinceName = provinceField.value.trim(); // Trim leading and trailing whitespace
    return provinceName;
  }
  return '';
}
Street
This variable captures the street name from the form field. Update the ID attribute in the code to match your street field’s ID.
function() {
  var fields = document.getElementsByTagName('input');
  var streetField;

  for (var i = 0; i < fields.length; i++) {
    if (fields[i].id.toLowerCase().includes('street')) {
      streetField = fields[i];
      break;
    }
  }

  if (streetField) {
    var streetName = streetField.value.trim(); // Trim leading and trailing whitespace
    return streetName;
  }
  return '';
}
Store Fields in Data Layer
Create a new Data Layer Variable for each field you are capturing. Use a consistent naming convention to indicate that the field is stored in the data layer. For example, use field_{fieldname}_dL.
Data layer variable names:
applicationData.emailapplicationData.firstNameapplicationData.lastNameapplicationData.phoneapplicationData.addressCityapplicationData.addressPostalapplicationData.addressProvinceapplicationData.addressStreetapplicationData.birthDate
Create Tags
You need to create two new tags: “Form Field DL Persist” and “Form Field DL Listener.”
Form Field DL Persist
Create a new Custom HTML tag that fires on all pages. This code snippet ensures that any new data captured from your applicationData fields will persist across all pages whenever the form is filled out.
<script>
(function() {
    var timeout = 30 * 60 * 1000; // Timeout period (30 minutes)
    var dataLayerName = 'dataLayer';
    var oldPush = window[dataLayerName].push;
    var containerId = '{{Container ID}}';

    // Function to backfill history
    var backfillHistory = function() {
        var tempHistory = [];
        var i = 0;
        var len = window[dataLayerName].length;
        for (; i < len; i++) {
            tempHistory.push(window[dataLayerName][i]);
        }
        return tempHistory;
    };

    // Retrieve persistent data from localStorage
    var applicationData = JSON.parse(localStorage.getItem('applicationData') || '{}');

    // Override the push function to capture data
    window[dataLayerName].push = function() {
        var args = Array.prototype.slice.call(arguments);
        for (var i = 0; i < args.length; i++) {
            var eventData = args[i];

            // Capture "Application" event data and store it in applicationData
            if (eventData.event === 'Application') {
                if (eventData.applicationData) {
                    applicationData = Object.assign({}, applicationData, eventData.applicationData);
                    // Store application data in localStorage
                    localStorage.setItem('applicationData', JSON.stringify(applicationData));
                }
            }

            // Re-push application data with every event
            args[i] = Object.assign({}, eventData, { applicationData: applicationData });
        }
        return oldPush.apply(window[dataLayerName], args);
    };

    // Listen for the gtm.init event and push applicationData if present
    window.addEventListener('message', function(event) {
        if (event.data && event.data.event === 'gtm.init') {
            if (Object.keys(applicationData).length > 0) {
                window[dataLayerName].push({ event: 'applicationDataInitialized', applicationData: applicationData });
            }
        }
    });

    // Push initial events from backfilled history
    var history = backfillHistory();
    for (var j = 0; j < history.length; j++) {
        window[dataLayerName].push(history[j]);
    }
})();
</script>
Form Field DL Listener
Create a new tag that fires on your conversion event. This could be on a thank you page or a form submission event. The following code snippet pushes the form data into the data layer. Update the curly bracket fields with your variables.
<script>
  dataLayer.push({
    "event": "Application",
    'applicationData': {
      "email": {{field_email}},
      "firstName": {{field_firstname}},
      "lastName": {{field_lastname}},
      "birthDate": {{field_birthdate}},
      "phone": {{field_phone}},
      "addressCity": {{field_city}},
      "addressPostal": {{field_postal}},
      "addressProvince": {{field_province}},
      "addressStreet":{{field_street}}
    }
  });
</script>
Send Advanced Match Data to Meta
Create a new tag using the Facebook Pixel template you installed earlier. Configure the tag with your Meta Pixel ID and set the Event Name to one of Meta’s pre-set values (e.g., Lead). Check the Enable Advanced Matching option.
In the Customer Information Data Parameters section, fill out the parameter names using your data layer variables ending in _dL.
Example mappings:
- First Name:
{{field_firstname_dL}} - Last Name:
{{field_lastname_dL}} - Email:
{{field_email_dL}} - Phone:
{{field_phone_dL}} - City:
{{field_city_dL}} - Postal Code:
{{field_postal_dL}} - Province:
{{field_province_dL}} - Street:
{{field_street_dL}} - Date of Birth:
{{field_birthdate_dL}}
Ensure this tag fires on the DOM Ready event or Window Loaded event if you’re using a thank you page. Otherwise, use the same conversion event you set in the previous section.
Preview and Publish
Before publishing your changes, turn on the GTM debugger and run tests to ensure everything is working as expected. Check that all tags fire correctly and data is captured and sent to Meta.
Once you’re confident that everything is set up correctly, publish your changes.
By following these steps, you’ll be able to send advanced matching events to the Meta Pixel using Google Tag Manager, significantly enhancing your tracking and retargeting capabilities.